
Your excavator’s boom is drifting. The bucket feels sluggish. Cycle times are creeping up, and your operator keeps saying “something’s off.” Sound familiar? Nine times out of ten, the problem traces back to the main control valve — the component that directs every drop of pressurized oil in your hydraulic system.
Let’s be honest: downtime is a killer for any job site. And when the main control valve starts failing, it doesn’t politely wait for a convenient maintenance window. This guide covers the real-world knowledge you need about control valve repair — from spotting trouble early to understanding what actually happens on the repair bench.
⚠️ SAFETY WARNING — READ THIS FIRST
Hydraulic systems operate at pressures exceeding 3,000–6,000 PSI — enough force to penetrate skin, cause severe burns, or result in fatal injury. Never loosen fittings, disconnect hoses, or disassemble any valve component until all hydraulic pressure has been fully relieved and the machine is properly locked out/tagged out. If you’re unsure about safe depressurization procedures, stop and consult a qualified technician. No repair is worth a trip to the ER.
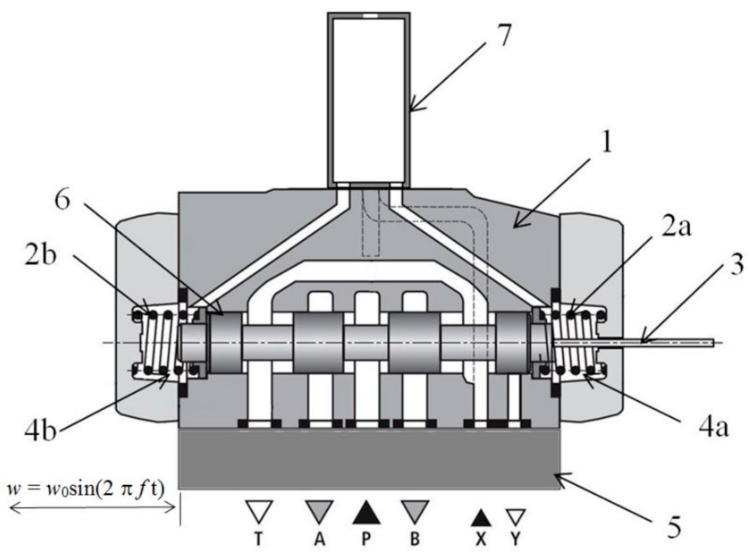
Think of the main control valve as the traffic controller for your entire hydraulic system. It sits between the main pump and all your actuators — boom cylinders, stick cylinders, bucket cylinders, swing motors, travel motors — and decides who gets oil, how much, and when. Whether you’re running a Caterpillar 320 excavator, a Komatsu PC200, a John Deere 350G, or a Hitachi ZX200, the core principle is the same: each spool section inside the valve controls one hydraulic function.
These multi-section assemblies are precision-engineered. Internal clearances between the spool and bore are often measured in microns — we’re talking tolerances tighter than a human hair. That’s why contamination and wear hit these valves so hard, and why proper control valve repair requires more than a seal kit and good intentions.
Catching valve problems early is the difference between a $2,000 repair and a $15,000 catastrophe. Here’s what to watch for:
The boom raises, but it takes noticeably longer than it used to. The bucket curl feels weak. On machines like the CAT 330 or Volvo EC220, operators often describe this as the machine “feeling tired.” What’s happening inside the valve: worn spool bores or degraded seals are letting oil bypass where it shouldn’t, robbing pressure from the circuit that needs it.
You raise the boom, let go of the lever, and the boom slowly sinks on its own. This is more than annoying — it’s dangerous. The load-holding check valves inside the main control valve are likely worn or contaminated. We see this regularly on Komatsu PC300 and Deere 470G units that have logged 8,000+ hours without a valve overhaul.
Internal leakage turns hydraulic energy into heat. If your oil temps are running hot and you’ve already ruled out the cooler and pump, the main control valve is the next place to look.
Scoring on the spool lands — even microscopic scoring — disrupts the smooth metering of oil flow. The result: jerky, unpredictable machine movements that make precision work nearly impossible.
This one deserves its own spotlight. Particles as small as 10 microns — invisible to the naked eye — can wreak havoc on precision valve components. Dirt, water intrusion, metal shavings from a failing pump, degraded seal fragments: they all act like sandpaper on spool surfaces and bore walls. For reference, the ISO 4406 cleanliness standard recommends hydraulic systems maintain a fluid cleanliness level of 18/16/13 or better for most mobile equipment applications. If you’re not testing your oil regularly, you’re flying blind.
Even in clean systems, 10,000+ hours of operation takes a toll. Springs fatigue. O-rings get brittle and crack. Spool edges round off. It’s gradual — which is exactly why it catches people off guard.
Operators who slam levers to full stroke, or machines that work without proper warm-up cycles, put enormous stress on valve internals. Repeated pressure spikes crack relief valve seats and damage spool edges. High operating temperatures accelerate every type of wear.
A lot of people picture control valve repair as “throw in some new seals and call it good.” That’s not how it works — at least, not at a shop that does it right. Here’s what a thorough repair actually looks like:
Before anyone turns a wrench, we run a pressure-flow test on the incoming valve to document exactly what’s failing and how badly. Once on the bench, the valve gets stripped down completely. What we’re really looking for aren’t just obvious cracks — it’s the microscopic scoring on spool lands that the naked eye might miss. Bore dimensions are measured with precision gauges. Spring free lengths and tensions are checked. Every check valve seat gets inspected under magnification.
Ultrasonic baths, solvent cleaning, careful deburring. Every passage, every port, every cavity. Contamination left behind from a sloppy cleaning job is the fastest way to guarantee a repeat failure.
If bore wear is within serviceable limits, honing restores the surface finish and geometry. Badly worn bores can sometimes be sleeved. Spool surfaces are polished or lapped. Valve body mating surfaces get lapped flat — if those faces aren’t dead flat, you’ll get section-to-section leakage no matter how good your seals are.
New seals, O-rings, backup rings, springs, and any other wear components go in. Relief valves are rebuilt and set to OEM pressure specs. Then the completed valve goes back on the test stand for the final proving: pressure settings, flow rates, internal leakage rates, spool response, and relief valve crack pressures — all measured against OEM specifications. If it doesn’t meet spec, it doesn’t ship. Period.
🔧 Real-World Case Study
A mining contractor brought in a main control valve from a Hitachi EX3600 shovel that was experiencing severe boom drift and sluggish digging cycles. The oil analysis showed an ISO 4406 cleanliness level of 22/20/17 — way above acceptable limits. During teardown, our technicians found heavy scoring on three of the five spool sections, plus two failed load-holding check valves. After honing the bores, replacing all wear components, and resetting relief pressures, the valve tested within OEM specs across all functions. Total savings versus a new OEM replacement: over $8,500. The unit has been back in service for 14 months without issue.
The valve body is structurally sound (no cracks or severe corrosion), bore wear is within repairable limits, and the failure involves seals, springs, or individual internal components. Professional repair typically runs 40–60% less than a new OEM valve with faster turnaround. For discontinued models — say, an older Liebherr R984 or a Kobelco SK480 — repair might be your only realistic option since new valves may no longer be available.
The body is cracked. Bores are worn beyond repair limits. The valve has been rebuilt multiple times already. Or a quality remanufactured unit is available at a competitive price with a solid warranty. Sometimes replacement is simply the smarter long-term play.
You just invested in a quality control valve repair. Here’s how to protect that investment:
Stay on top of your oil. Change hydraulic filters on schedule — or earlier in dusty, high-contamination environments. Run oil analysis every 500 hours. Target an ISO 4406 cleanliness level of 18/16/13 or better. This single habit does more to extend valve life than anything else you can do.
Watch your temps. Keep hydraulic oil within the manufacturer’s recommended temperature range. Clean your coolers. Check your fans. Heat kills seals, thins oil, and accelerates every form of internal wear.
Don’t ignore small symptoms. Minor drift today becomes a full valve failure next month. A slight increase in cycle time is your machine telling you something. Listen to it.
Train your operators. Smooth, controlled lever inputs. Proper warm-up cycles. No slamming levers to full stroke. Good operators extend component life; rough operators shorten it dramatically.
Not every hydraulic shop is equipped for main control valve work. Here’s what separates the capable ones from the rest:
Valve-specific expertise. You want technicians who work on main control valves regularly — not someone who mostly rebuilds pumps and “also does valves.” Ask about their experience with your specific equipment brand.
Proper test equipment. The shop should have hydraulic test stands that can simulate full operating pressure and flow. If they can’t test it properly, they can’t verify the repair.
Clear warranty terms. Look for a minimum 12–18 month warranty on repaired valves. A shop that stands behind its work with a real warranty — not a 90-day token gesture — is one that has confidence in its quality. Certified, factory-trained technicians are another strong indicator.
Communication and turnaround. They should give you an honest timeline upfront, a detailed quote after evaluation, and keep you in the loop through the process. No surprises.
Most repairs are completed within 5–10 business days once the valve arrives at the shop. Complex units or valves requiring hard-to-source parts may take longer. A good shop will give you a firm timeline after the initial teardown and evaluation.
Replacing external seals or O-rings on port fittings? Potentially, if you have the right seal kit and cleanliness protocols. But internal spool work, bore reconditioning, and relief valve calibration require precision tooling and test equipment that most field shops don’t have. A bad field repair often makes the problem worse — and more expensive to fix properly later.
Send it in for evaluation. Most reputable shops will tear down and inspect the valve for free, then give you a quote. If the repair cost exceeds 60–70% of a remanufactured replacement, the replacement usually makes more financial sense.
Most major brands are serviceable, including valves found on Caterpillar, Komatsu, Hitachi, John Deere, Volvo, Liebherr, Kobelco, Case, and Doosan equipment. Whether it’s a Kawasaki, Eaton, Rexroth, or Husco valve assembly, an experienced repair facility will have the specifications and tooling to handle it.
Get a free evaluation and repair quote — no obligation. We’ll tell you exactly what’s wrong and what it costs to fix it.
📥 Download Our Free Hydraulic Valve Troubleshooting Checklist (PDF)
A failing main control valve won’t fix itself, and it won’t get cheaper to repair the longer you wait. Whether you need a full rebuild on a mining shovel valve or a quick turnaround on a construction excavator unit, get it evaluated by people who know what they’re looking at. Your equipment — and your bottom line — will thank you.